
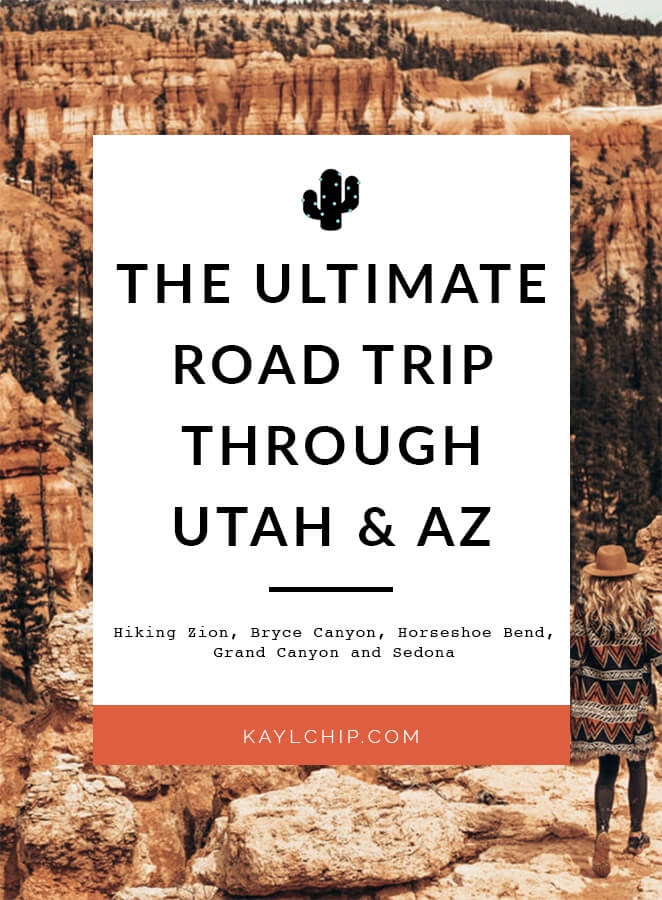
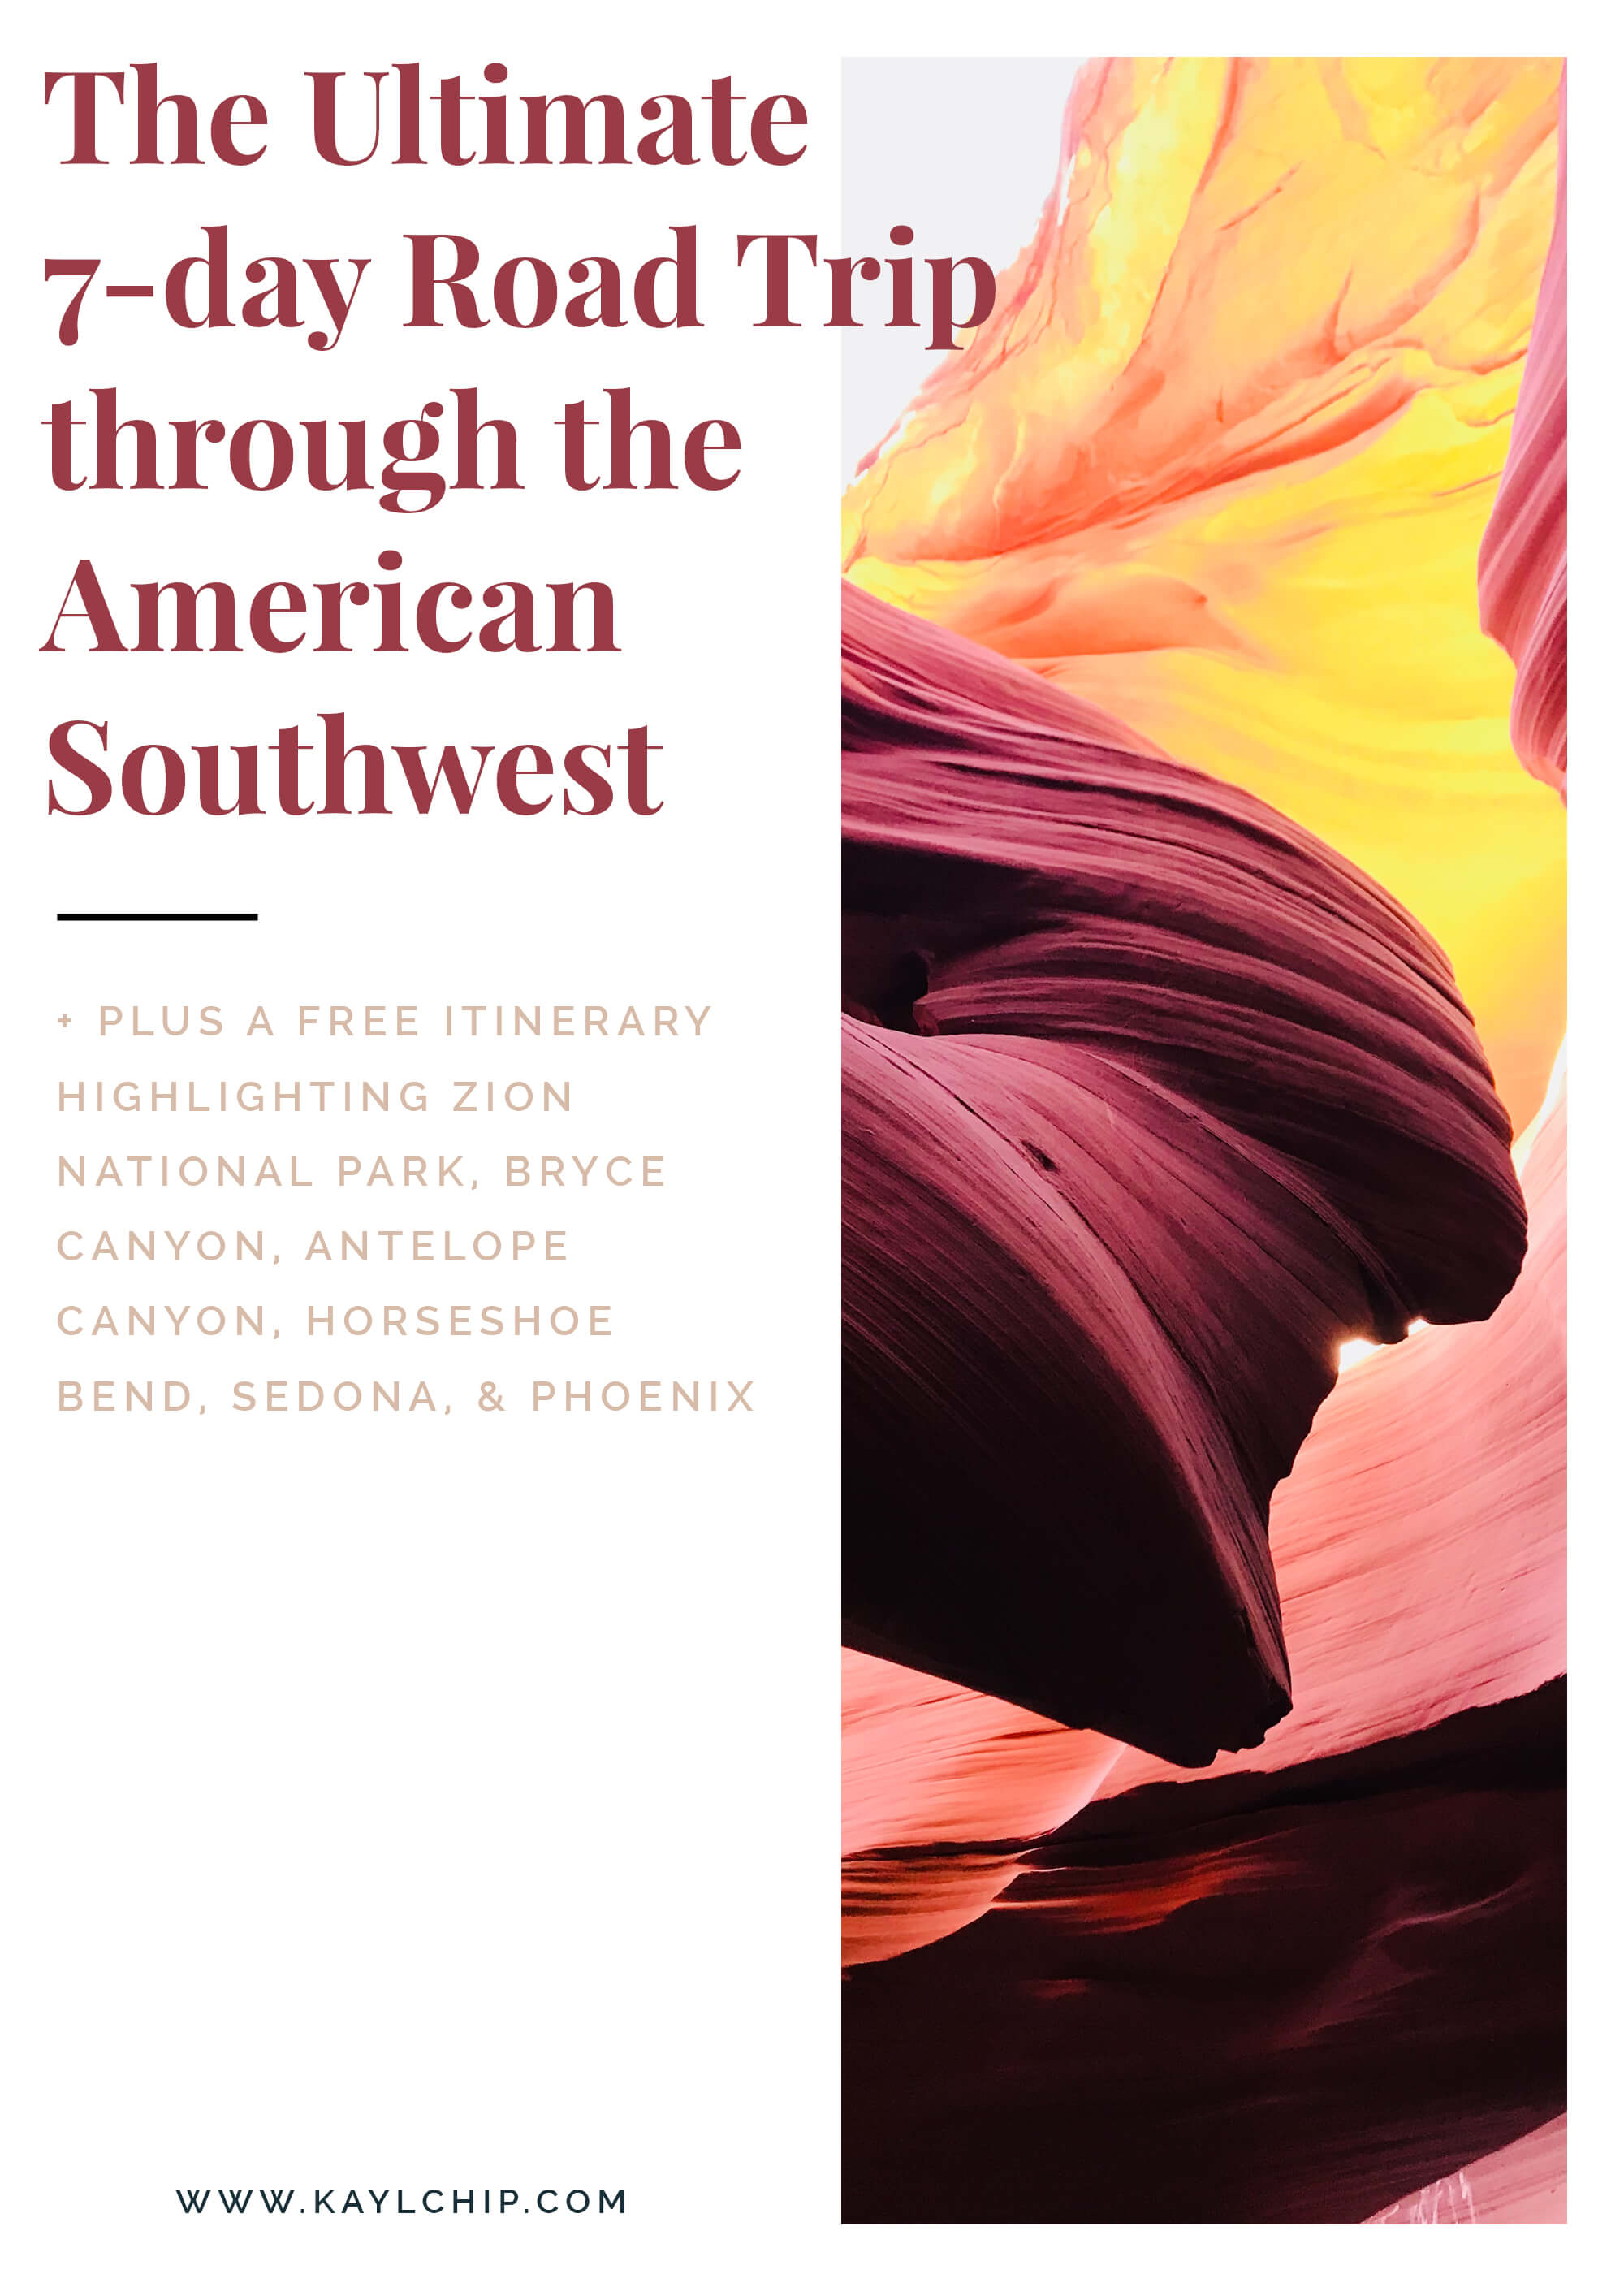

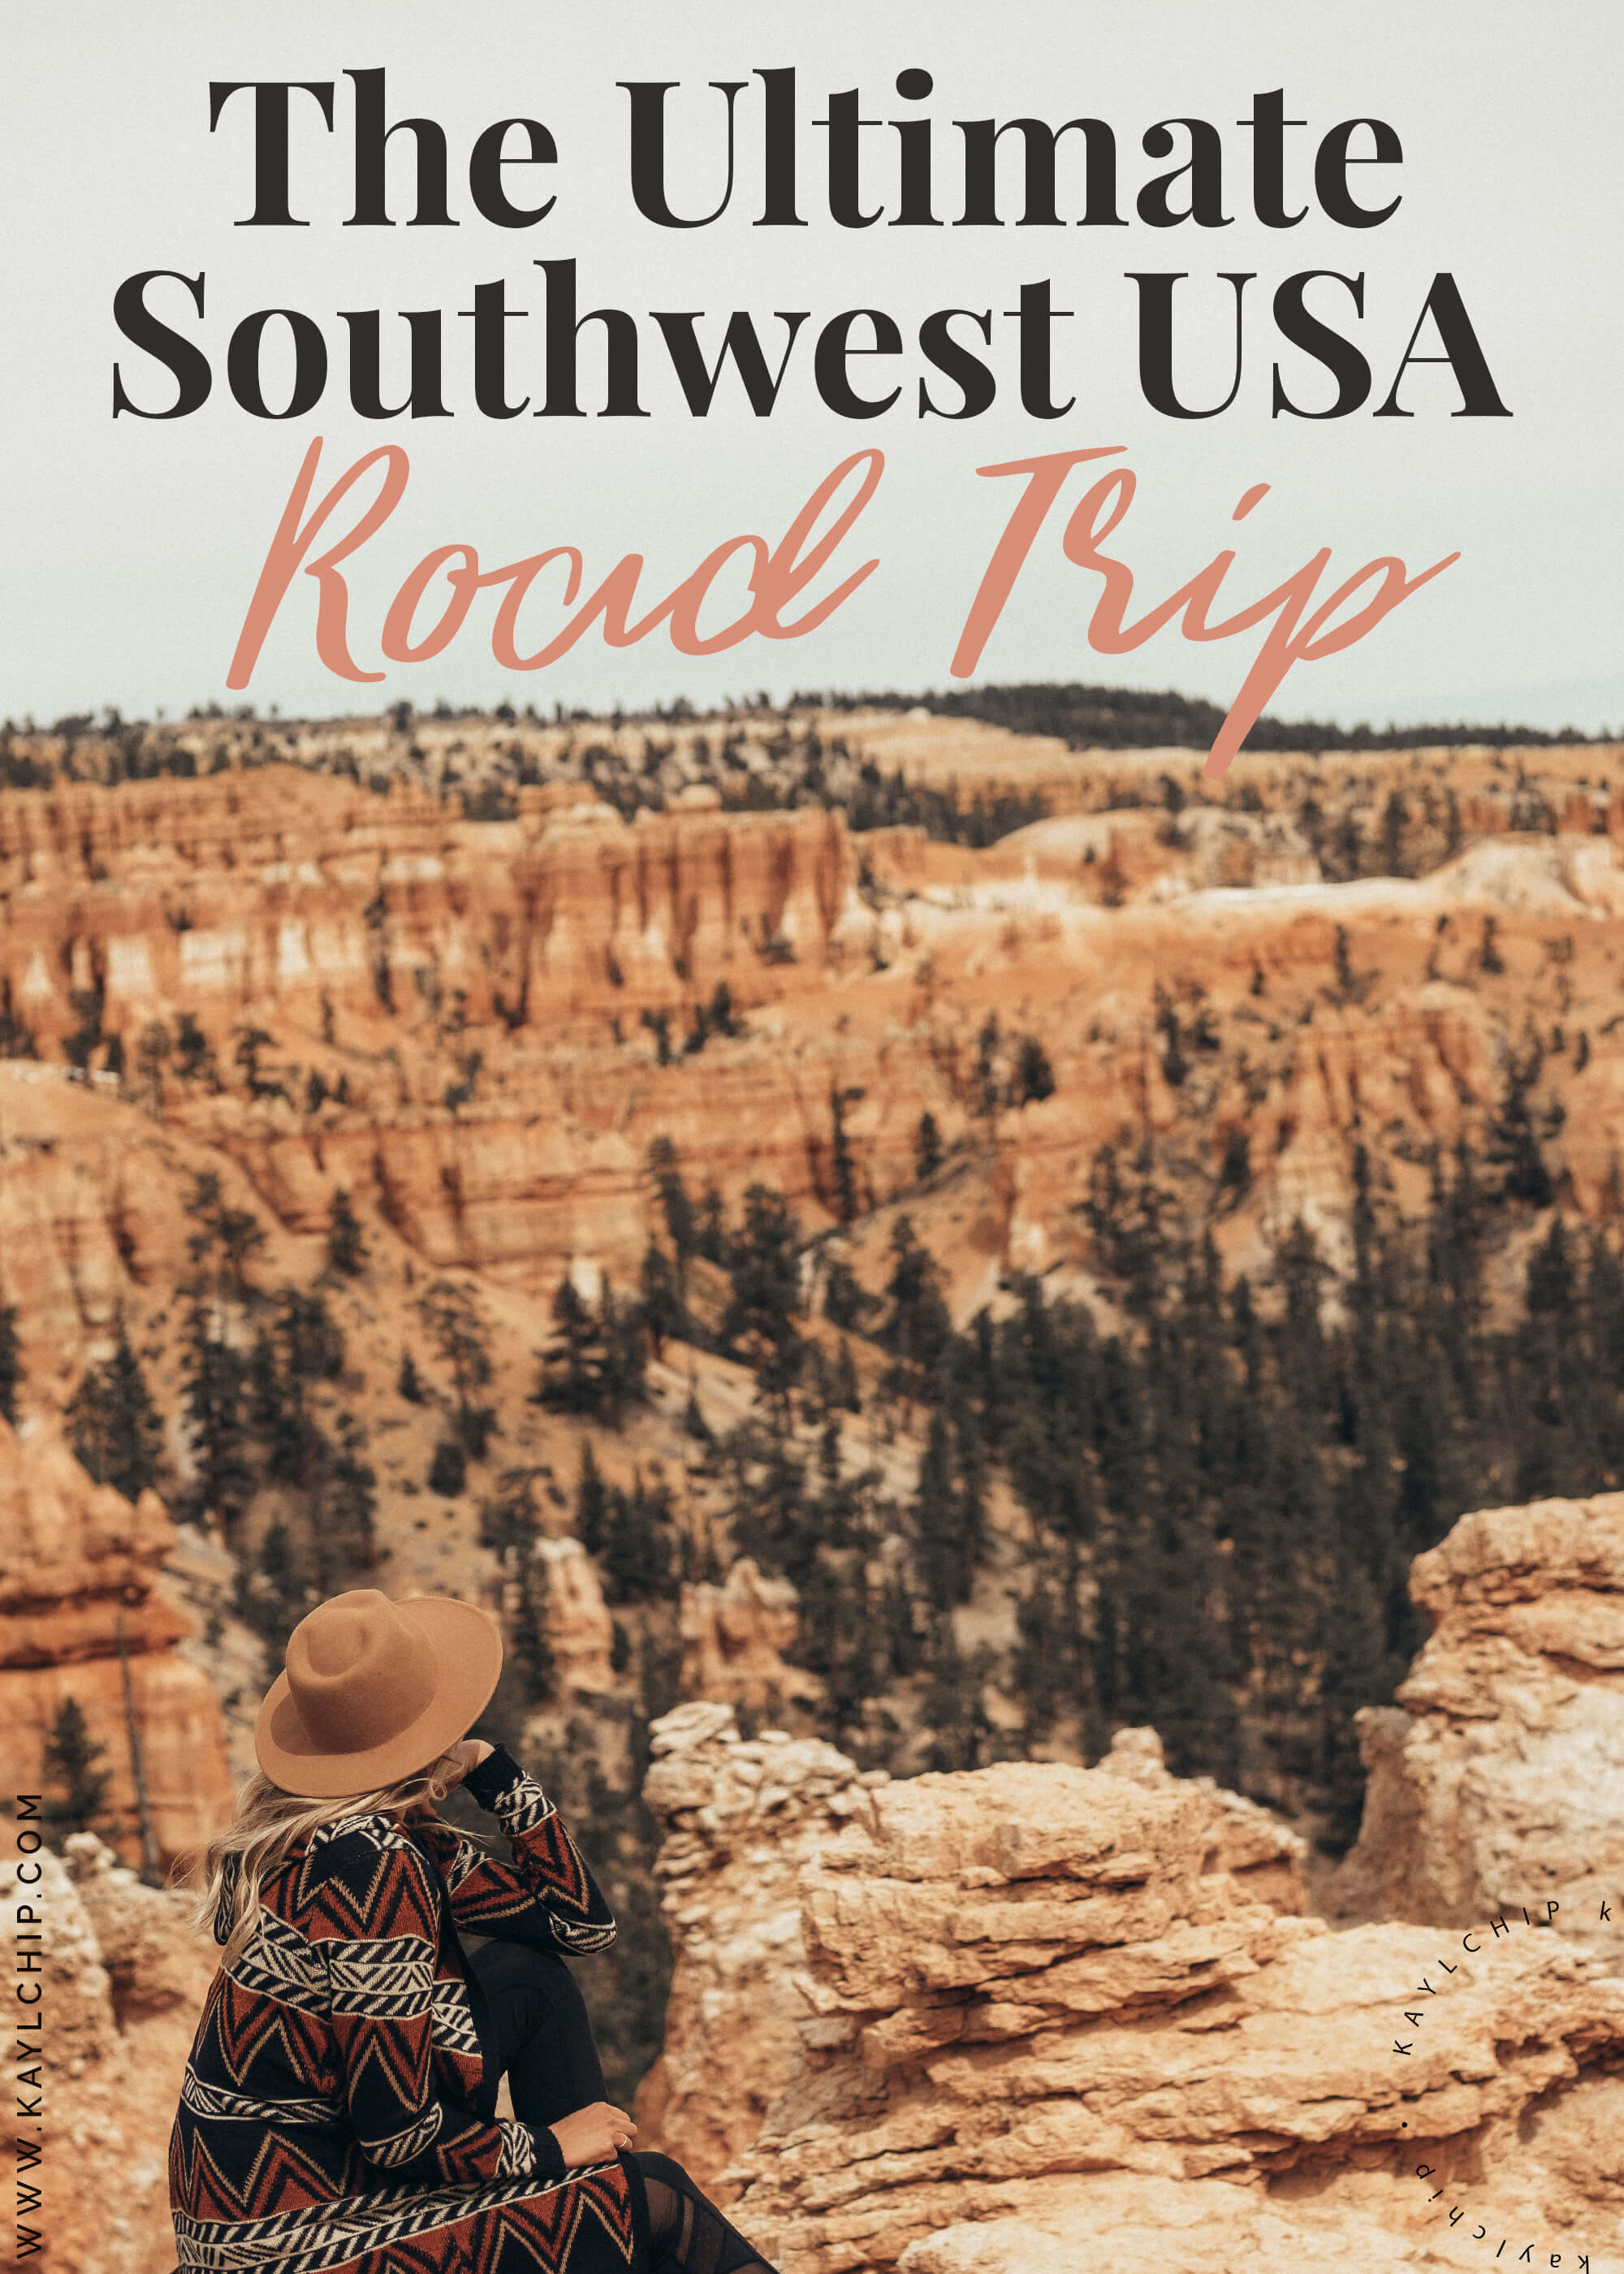
Planning an American Southwest Road Trip and feeling a teensy bit overwhelmed trying to decide where to go and what to see? I feel ya. When we decided to finally cross this epic road trip off the bucket list, we wanted to make sure we saw as much as possible in a short amount of time.
This post is based on a 7 day itinerary through the American Southwest National Parks, with a few additional recommendations for those blessed with more time to explore! For reference, we started by flying into Las Vegas, Nevada and ended with a flight out of Phoenix, Arizona. After a ton of research, this seemed like the best option being from Vancouver, Canada.
As you’ll notice, we stayed in hotels for the whole trip. There were three of us travelling together, so cost wise it made sense. If you are traveling solo, a great option would be to rent a Jucy campervan or rent a car and bring a tent. Most areas along this road trip are owned by the Bureau of Land Management, meaning you can camp for free in a variety of spots along your journey!
Alright! Now that you’ve got some context on our travel situation…
Read on for the Ultimate American Southwest Road Trip Itinerary
First Stop: Las Vegas International Airport
We started in Vancouver and hopped on a quick 2 hour and 18-minute flight into Las Vegas, Nevada (where we had secured a rental car). After picking up our car, we embarked on the 2.5-hour drive to Zion National Park. We stopped in St. Georges on the way for a quick bite at Subway, only to realize In-N-Out was a few exits away. Devastating. Don’t make the same mistake.
Pro tip: Make sure you ask for a GPS and Satellite Radio. It makes all the difference when you are road tripping the Southwest, as many areas don’t have service. Both were included in our rental, so make sure you shop around for the best deal! (We booked with Hertz)
Second Stop: Zion National Park
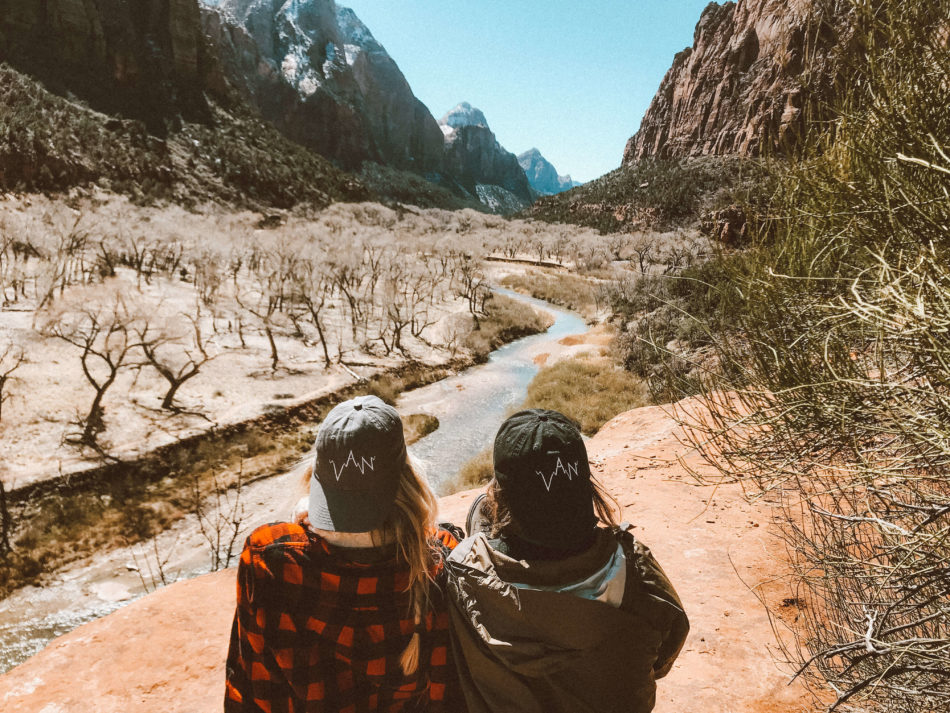
Recommended length of stay: 2-4 days. We stayed for 3 nights & it was perfect. We arrived in Zion National Park around 4pm and spent 3 nights hiking the famous trails to epic viewpoints.
Recommended hikes in Zion:
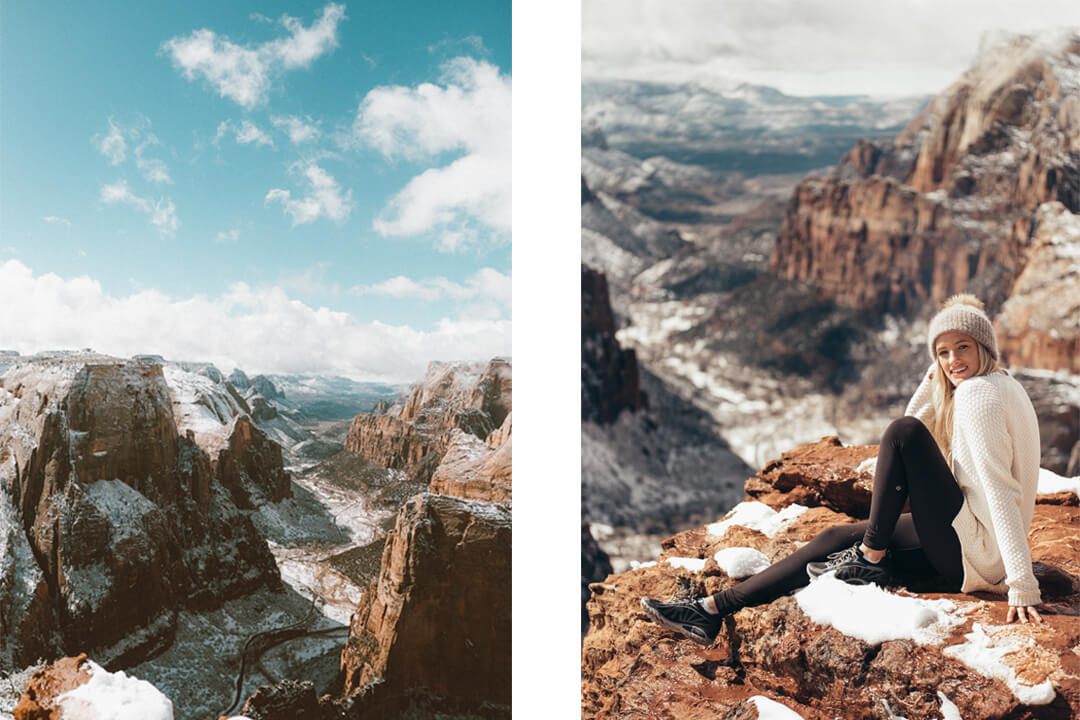
Observation Point: 8-miles roundtrip.
This hike is marked strenuous, but it should be noted that we saw everyone from 8-year-olds to 68-year-olds hiking the trail. Yes, you will probably be huffing and puffing in some areas, but in my opinion, it is totally worth the struggle. With stunning viewpoints at every turn, it would be rude not to take a few breathers along the way to stop and gaze at the beauty of the slick rocks, white cliffs, and canyons that surround you.
If you only do one hike in Zion, make it this one. With a viewpoint higher than Angel’s Landing, stunning switchbacks, and landscape that makes you feel a foot tall, this hike is all encompassing, and my favourite hike in Zion. The fact that there isn’t a nasty 1,000 foot cliff on either side like Angel’s Landing made this the perfect hike for us.
Are you an avid hiker? If so, consider exploring the Hidden Canyon on your way down from Observation Point. It will add about an hour to your hike, and there are a few sketchy areas where chains are needed, but the canyon itself is worth exploring while you’re there.
Angel’s Landing
Yah I know, this is probably what you came for, you crazy thrillseeker you. For me, it was a Randy Jackson “it’s a no from me, dawg” as I’m terrified of heights. However, what most people don’t realize is that you can actually do the majority of Angel’s Landing hike without the 1,000-foot cliff drops on both sides. 90% of the hike is sheltered amongst the rock faces and features some great viewpoints along the way. Once you reach the top (before the sign to continue onto the cliffside trail), there are incredible views of Zion National Park. This is great for those traveling with a few people that ain’t down for the chains and the serious potential of plummeting to their death.
Convinced Angel’s Landing is a must see on your bucket list? Then I can’t stress this enough: Get.on.the.first.shuttle.of.the.day. I’m serious. Go as early as humanly possible, because believe me, you do not want to be on the trail when the hundreds of other people arrive.
The chains at the top are one-way only, and there isn’t a solid system in place for people to yield to those that are coming down versus those making the trek up. It’s a total gong show. The girls I was traveling with (that were much braver than I) mentioned that at one point, a man had to yell at the top of his lungs for the people coming up to stop to let the 40+ people attempting to come down continue down the cliffside.
We went in March, and although it was Spring Break so busier than normal, this was still considered offseason. I can only imagine what it would be like in peak season. Take my advice above and go early!!
The Narrows
While I can’t speak from personal experience as the Narrows was closed due to water height while we were there, I have heard nothing but good things about this hike. It’s a very unique experience, trekking through the water and into the gorge. There are a few ways to hike the Narrows, either top-down, bottom-up or a modified version along the Riverside Walk from the Temple of Sinawana. For all the information you’ll need, check out this post by the National Park Service.
Other easy hikes in Zion National Park:
Emerald Pools
There are a plethora of other smaller hikes and trails to experience while in Zion. After Angel’s Landing, an easy trail to the Emerald Pools offers some great views of the landscape below as you wander under a few waterfalls and dip your toes in one of the three emerald pools. It should be noted these pools are not emerald in colour, but more of a brown hue 😛
Canyon Overlook
For low risk, high reward, consider the Canyon Overlook hike. It’s only one-mile long and offers spectacular views!
Third Stop: Bryce National Park (2 hour drive from Zion):
Recommendation length of stay: 1 day/night. You could make this a day trip on your way to Page, Arizona. However, I recommend driving from Zion early, exploring that day, staying the night, and then leaving bright and early the following day.
Bryce National Park, home of the hoodoo’s!! Next to Zion, Bryce Canyon is one of the most popular destinations you’ll visit along your American Southwest road trip.
While its beauty is vast, it can be quite deceiving, as the park itself isn’t that large. You can easily see all you need to see in one day, or even an afternoon if pressed for time.
We arrived around 11 am, and after speaking with the experts at the visitor’s center, we were directed to a few loops they promised would give us the most bang for our buck.
Best hikes in Bryce Canyon National Park:
Navajo Loop (1.3 miles, 2.16 km)
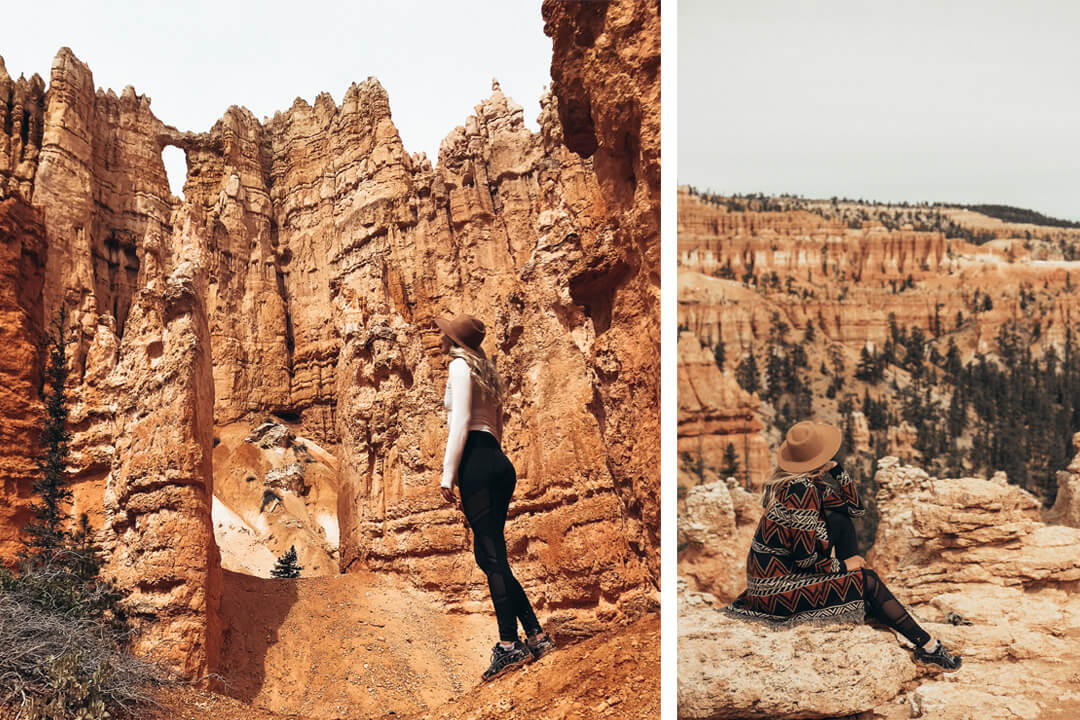
Start at Sunset Point for incredible views of those famous hoodoo’s and the canyons below. Descend down from Sunset Point to the Navajo Loop, walking through the famous Bryce Amphitheatre and taking in the view of Thor’s Hammer. You can continue up through Queen’s trail, or for more of an adventure follow the path to Peek-a-boo loop.
Peek-a-boo Loop (4.1 mile hiking trail, steep in some areas but worth it!)
In my opinion, this is a must-do trail in Bryce Canyon! It was one of my favorite hikes of the entire trip. Get your camera ready, there are picture perfect landscapes waiting for you at every turn. You get up close and personal with the hoodoo’s, have an incredible view of the Wall of Windows, and the many twists, turns and drop off’s will leave you saying “I can’t believe this is real”, something we uttered multiple times exploring this vast and mesmerizing National Park.
Option: after Peek-a-boo trail, continue up Queen’s look-out trail and end at Sunrise Point. This will give you another gorgeous perspective of the canyon. If you’re tired, simply head back up Navajo Loop to finish sooner.
Bryce Canyon Viewpoints
Bryce Canyon is different from Zion National Park in that you hike down into the canyon, versus up. That means you can take in all the epic views from the comfort of your vehicle if you choose.
There is an 18-mile road with viewpoints dotted along every few miles. To see one of the longest views in North America, drive to the very end to Rainbow Point. To be honest, it was pretty cool, but nothing compared to what we saw on our hikes!
Fourth Stop: Page, Arizona (2.5 hour drive from Bryce Canyon National Park)
Get an early start from Bryce Canyon National Park and begin your drive to Page, Arizona, home of Antelope Canyon, Horseshoe Bend, and Lake Powell. Stop in Mt.Carmel, Utah at Thunderbird Restaurant for coffee and pancakes, about one hour out of Bryce Canyon on your way to Page.
Antelope Canyon
One thing that came as a surprise to us was that you can’t explore the canyons on your own, you will need a guide. The canyons are located on Navajo Indian Land, so it is so important to respect the area and plan accordingly.
While you can just show up to book a tour, in peak season you may want to book in advance to avoid any sold out tours!
Recommended Tour Company:
Dixie Ellis Lower Antelope Canyon (our tour guide Aaron, was very knowledgeable, funny, and took the time to help everyone take pictures from the best angles. The results were unbelievable! You the real MVP, Aaron).
Pro tip: You cannot bring the following into the canyon: selfie sticks, go pros, backpacks. You really only need your camera, as the tours are only 1 hour and 15 minutes long. They give you complimentary water upon finishing.
Lower Antelope Canyon versus Upper:
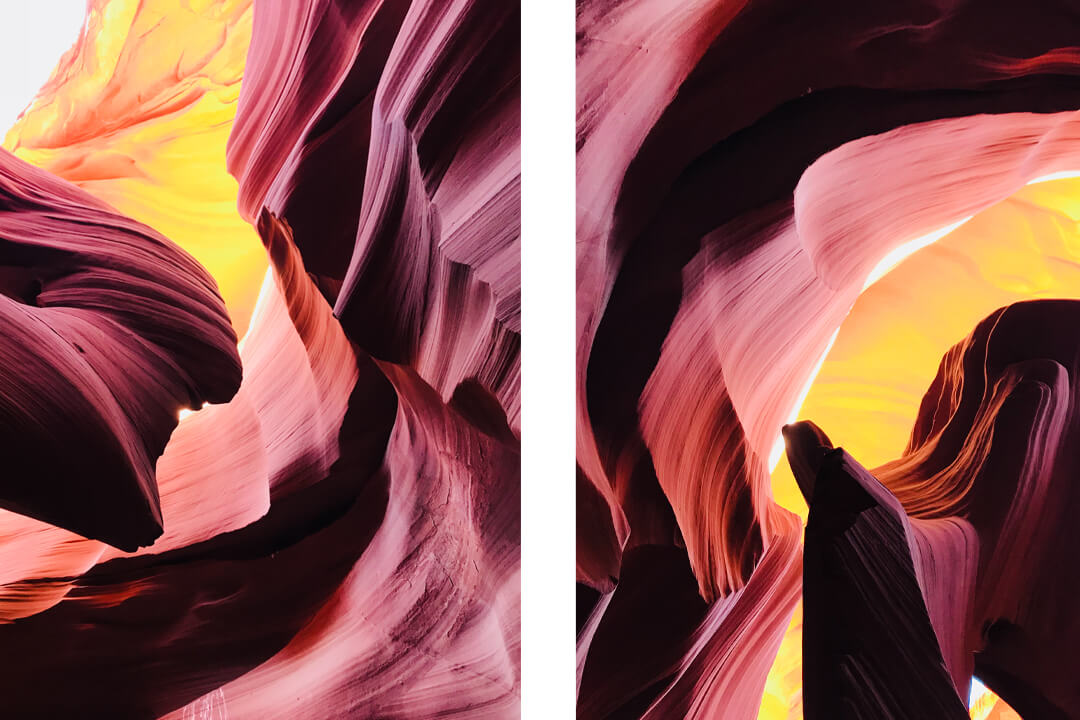
Lower Antelope Canyon is famous for the colors and textures of the canyons, where upper is where you’ll find those famous light rays (but only at certain times of day/year. Check in with the locals for the best time to go).
The tour guides told us the Lower Canyon was the better of the two if you are only going to visit one, but recommended seeing both if you have the time!
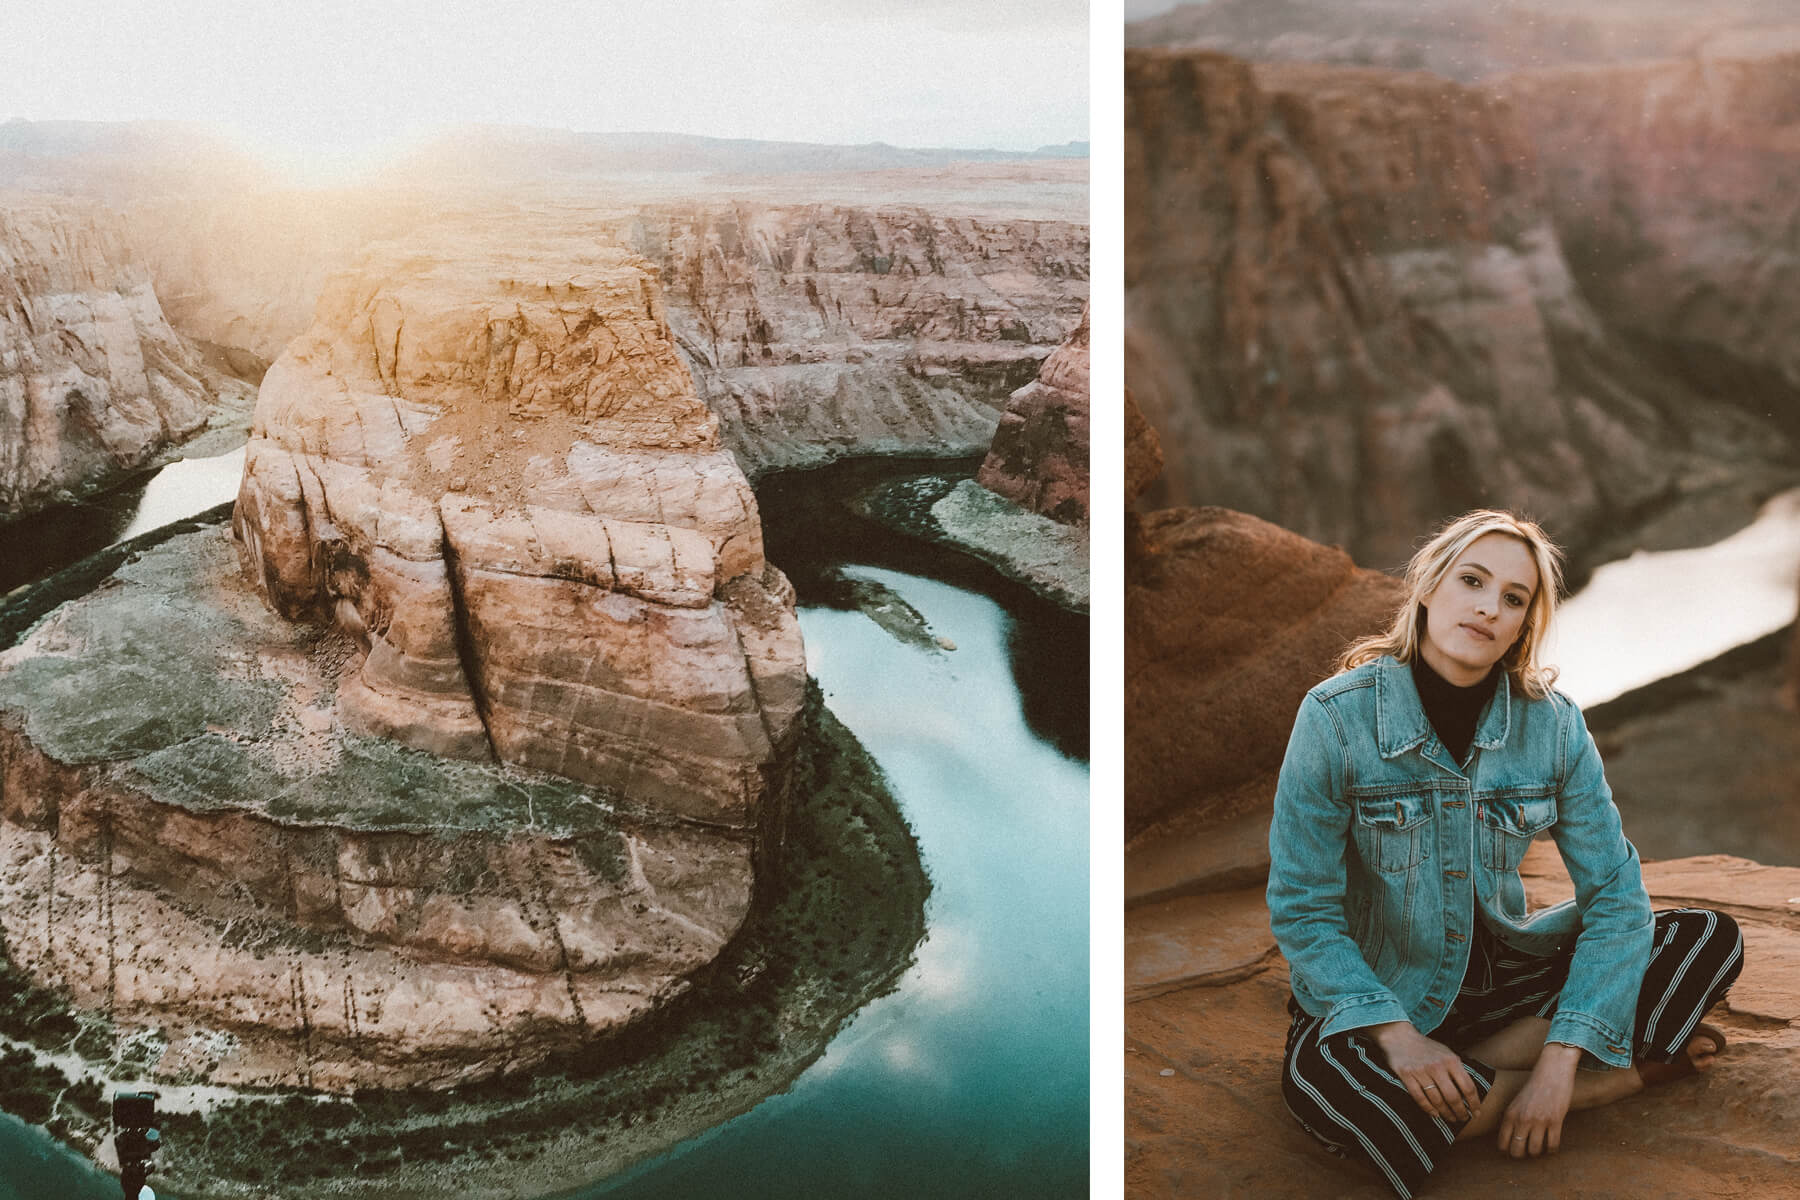
Horseshoe Bend at Sunset:
Although you will be taking in the view with a few hundred people, Horseshoe Bend is stunning at sunset. The sun disappears over the canyon, illuminating the horseshoe-shaped water below and kissing the canyons with a soft glow.
Pro tip: Although it is only a short 1-mile hike in, I would wear proper footwear. We wore sandals and because we were exploring near the cliff edges to take in the view, it felt a little shaky. I would have felt more comfortable in hiking shoes or runners.
If you want to beat the crowds and tour buses, consider visiting first thing in the morning. The lighting will still be beautiful but you won’t be fighting with selfie sticks and reckless teenagers jumping from cliff to cliff to get the perfect shot.
Fifth Stop: Grand Canyon National Park (2 hours from Page)
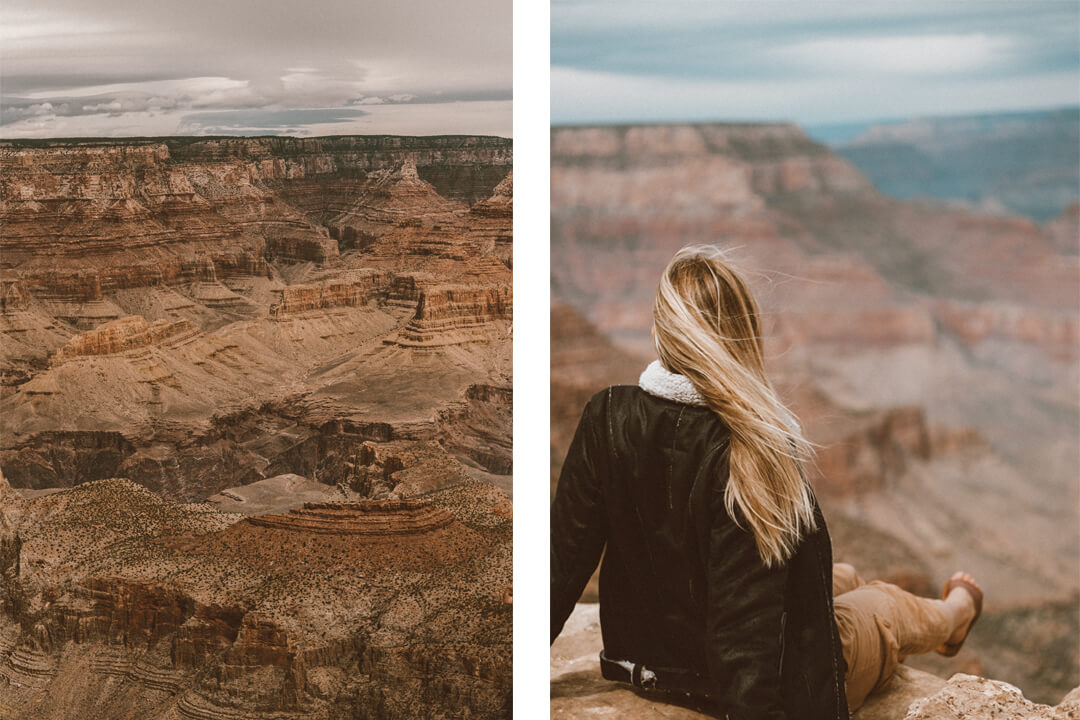
Leave Page early in the morning, and make your way through the Grand Canyon National Park on the South Rim side. Enter and take in the first view of the canyon at Desert View Point. You’ll see an expansive view of the canyon and Colorado River.
Keep going and stop at any of the many viewpoints, making sure to stop at Grandview Point, one of the best views of the Canyon. Other favorites include: Yaki Point (only accessible by shuttle), Navajo point and Moran Point.
Stop at RP’s Stage Shop in the town closest to the Grand Canyon, Tusayan. Build your own custom made sandwich before continuing on to Sedona, Arizona.
Sixth Stop: Sedona, Arizona (2.5 hours from Grand Canyon)
When we first started planning our American Southwest road trip, we didn’t even think to include Sedona. We were lucky enough to squeeze it into our travel plans by cutting our time in Page a little short.
I’ll admit, driving from Page, through the Grand Canyon to Sedona in one day is a bit of a trek. BUT, in my opinion, totally worth it! All three of us agreed it was doable and something we would recommend doing!
Take the long and winding road down into Sedona for breathtaking views of the famous red rock. We hot-wired a hotel last minute and stayed at Poco Diablo Resort. Turns out, it was a great place to stay as it was nearby to some of the top-rated restaurants in Sedona, and close to the best trailheads.
Hiking in Sedona
HiLine Trail
We were told by an avid hiker and local tour guide that if he could only do one hike in Sedona, it would be the trails starting at Yavapai Vista. The Hiline trail offers stunning views of all the red rocks in Sedona including Courthouse Butte, Bell Rock, Lee Mountain, Rabbit Ears, and Cathedral Rock. The route is for both mountain bikers and hikers, so be prepared to share the sometimes narrow trail.
Devil’s Bridge
For that famous Instagram shot, Devil’s Bridge is a fan favorite.
Seventh and Final Stop: Phoenix, Arizona (2 hours from Sedona)
Since we were flying out of Phoenix, we wanted to end our trip in sunny Scottsdale. What better way to end an American Southwest road trip than with some rest and relaxation?!
We left Sedona after our hike around 11 am, and arrived in Scottsdale (after finally getting our In-N-Out fix) around 1:30 pm, as traffic was heavy due to MLB spring training and spring break. We stayed at the Doubletree by Hilton, sipped blackberry mojitos poolside and toasted to one of the best trips of our lives!
Planning your own American Southwest Road Trip? I’d love to hear from you! Comment below with any questions, and in the meantime, download this jam-packed itinerary with a comprehensive step by step guide to the perfect road trip that will ensure you see as much as possible!
Amazing trip! Where to next?