


You book the ticket. Do the research. Take the bus, plane, plane, and another bus to get where you’re going. You stand in awe of the landscapes, architecture, and people that surround you. You want to capture the scene, the energy, and bring home a piece of paradise with you. But you’re not quite sure how. Photographs are the visual stories we take with us long after we leave destinations.
“Photography is the story I fail to put into words.” – Destin Sparks
Below I have outlined what equipment to use, when to shoot, photography “rules”, a basic introduction to shooting manual, how to pose in photos and an introduction to editing. This is everything I wish I had known when I first started! I am by no means a photography expert, but these are a few things I’ve learned so far that have helped me grow, and I hope they are valuable for you as well.
Travel Photography Equipment //
Those Apple commercials are super convincing. You know the ones where they introduce a new iPhone, and the camera pictures look like they came straight out of the latest edition of Vogue? I don’t know about you, but my iPhone camera does not take photos that well.
If you are serious about getting better at photography and want beautiful travel images, I highly recommend investing in a DSLR or Mirrorless camera. Not only will the quality of photos be far superior to an iPhone or cheap point-and-shoot, but you will be able to shoot in RAW, drastically improving your ability to edit photos in your own style.
Best Cameras for Travel Photos
Best Point and Shoot Camera: Canon PowerShot G7 X Mark II
If you are just starting out and have a tighter budget, consider buying a point and shoot camera. This one comes highly recommended by a few travel blogger friends of mine: Canon PowerShot G7 X Mark II – Great for traveling, shoots amazing video and is perfect for anyone that wants to do some vlogging!
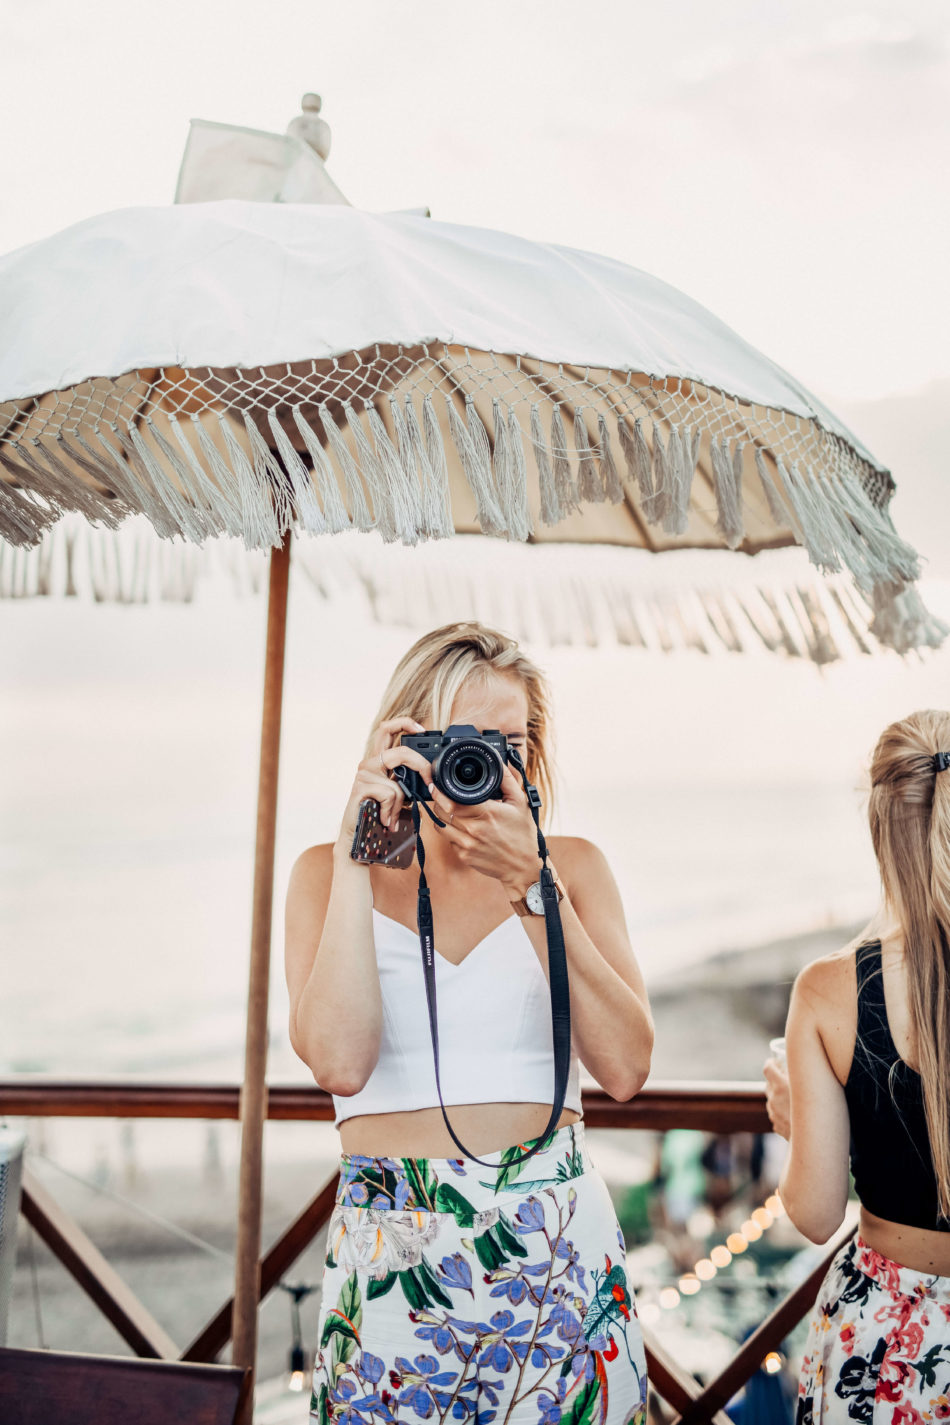
Best Mirrorless Travel Camera: Fujifilm Mirrorless XT-20
My all-time favorite camera to shoot with is the Fujifilm Mirrorless XT-20. The 18-55mm kit lens (the lens it comes with) is one of the best I’ve seen when it comes to “default” lenses, so you don’t need to worry about buying extra lenses right away. It is SUPER lightweight and travels very easily, and has a cool vintage film camera look I love. I get so many compliments on the photos I take with this, and when I show people the camera, they are blown away at how light and easy to use it is. Perfect for travel.
Cult Classic: Canon Mark 5D IV
Pretty much every travel blogger swears by the Canon Mark 5D camera. I went to the store to pick one up and it felt heavier than a bowling ball. To me, it was not conducive to traveling, although it does take magnificent photos. If you don’t mind the extra weight and an expensive price point, the Canon Mark series is an industry leader.
Other Equipment
A lightweight tripod – SOLO TRAVEL MUST!
You need a tripod if traveling solo. Tripods are a great way to get clean, sharp images as it eliminates shake. Tripods are also great for time-lapse video or for taking multiple photos via self-timer or in low light. A lot of cameras have phone apps that turn your smartphone into a remote, so you can take photos while you are out frolicking in a field if you want to! Here is my favorite model for travel: Amazon Basics Tripod – super cheap and lightweight so you can take it everywhere.
An external hard drive
Chances are you are going to go a little trigger happy on your travels. If you are shooting in RAW (more on that later) your images are going to be gigantic, and that can fill up your computer hard drive real quick. Buying a hard drive and uploading your photos onto it versus the hard drive on your computer will help avoid maxing out your storage and slowing down your laptop. It will also protect your photos if heaven forbid something happens to your laptop. The one I use is the Seagate External Hard Drive
Lens pens and cleaners
There is no point in investing in a good lens or camera if you aren’t going to keep it clean. You can buy lens pens on amazon for super cheap!
Camera Bag
To protect your gear, purchase a camera bag and an equipment backpack (especially if you have a few lenses and a laptop!) I use the Lowepro Camera Backpack. It fits my camera, drone, 4 lenses, 15” laptop and all my chargers.
Best Time To Shoot
“I see something special and show it to the camera. The moment is held until someone sees it. Then it is theirs.” – Sam Abell on Photography
Timing is everything when it comes to photography. While I know you’ll be out and about all day every day, try your best to shoot when the lighting is prime. This is usually sunrise or sunset (aka golden hour). Know you want to get some photos of a certain castle or boardwalk? Plan your day around visiting at golden hour if possible. It will make a MASSIVE difference. Google what time the sun sets where you are and head there an hour before, or download the “Magic Hour” app that will tell you sunrise and sunset times in your area.
Sunrise
Sunrise is a great time to take pictures while traveling because not only is the lighting beautiful, but no one is around. Ever been to a ridiculously packed tourist destination that you can barely see because there are so many people? Not at sunrise.
Sunset
If you’re really not a morning person, fear not. My favorite time to shoot is right before the sun goes down. The light is so soft, it’s as if a blanket of warmth has transcended upon a city. This time is especially great to take photos of people, yourself, or landscapes.
If shooting in Direct Sun..
Cameras don’t like harsh sunlight as almost every image will be overexposed no matter what setting you try. Cloudy days, sunrise and sunset will make your photos “pop” that much more. If you are shooting in direct sunlight, try to find a spot where you or your subject is completely in the shade. It helps if the shaded area is surrounded by lighter buildings or streets to bounce some of the light onto you or the subject, but it’s not necessary.
Photography in Ancient Greek translates to “Drawing with Light”, which I think is a beautiful way to look at it. Light is so important when crafting your images, so make sure to start paying attention to it while setting up your shots.
Try Learning to Shoot in Manual
This is where I might make you cringe a little, but to take your photography to the next level, my best advice is to learn how to shoot in manual mode. Barf. Cry. I know, it can be overwhelming at first. ISO? Aperture? F-stops? What the F is an F-stop? You don’t even necessarily need to know WHAT these things are, you just need to learn how to manipulate them based on when and where you are shooting.
A brief explanation of three important settings on your camera for manual shooting:
ISO
he lower the number, the less sensitive your camera is to light and the finer the grain. Put simply: you will usually want your ISO to be as low as possible to reduce noise. I try to shoot all my photos at 100 ISO as long as conditions allow. Of course, there will be times when you want to shoot indoors or in low light, and bumping up the ISO is necessary.
Aperture (f-stop)
When you adjust aperture, you are adjusting the depth of field of the image.
The smaller the number, the blurrier the background (shallow depth of field). When shooting portraits, this number is usually around 1.4-2.8. For landscapes, you’ll want a deeper depth of field so the foreground and background are sharp.
Shutter Speed
Think of your eyelids. The shutter essentially “blinks” inside your camera. The number reflects how fast that blink is. When you blink slowly, you let more light in.
You want to keep this at a minimum of 1/125 for most shots to avoid shake/blurry images. You will need to adjust based on the type of photography you are doing (sports, night etc) but for every day, the higher the better! A tripod is a must for shutter speeds under 1/60 in my opinion.
I know this sounds like another language, but you will understand the settings more the more you shoot.
Tip: Utilize Youtube for more tutorials! Search “shooting in manual *Your camera model*” and a bunch of videos specific to your camera will come up!
Photography “Rules”
Rule of Thirds
This is an important photography composition technique that is utilized by almost every professional photographer you come across. The idea is to divide the image into 9 equal parts like a tic tac toe game. You essentially want to divide the image into 3 parts, either one part sky, two parts ocean, etc. You will also want to place the subject of your photo where the lines intersect. Google “rule of thirds” on google images to see plenty of examples of this concept in action!
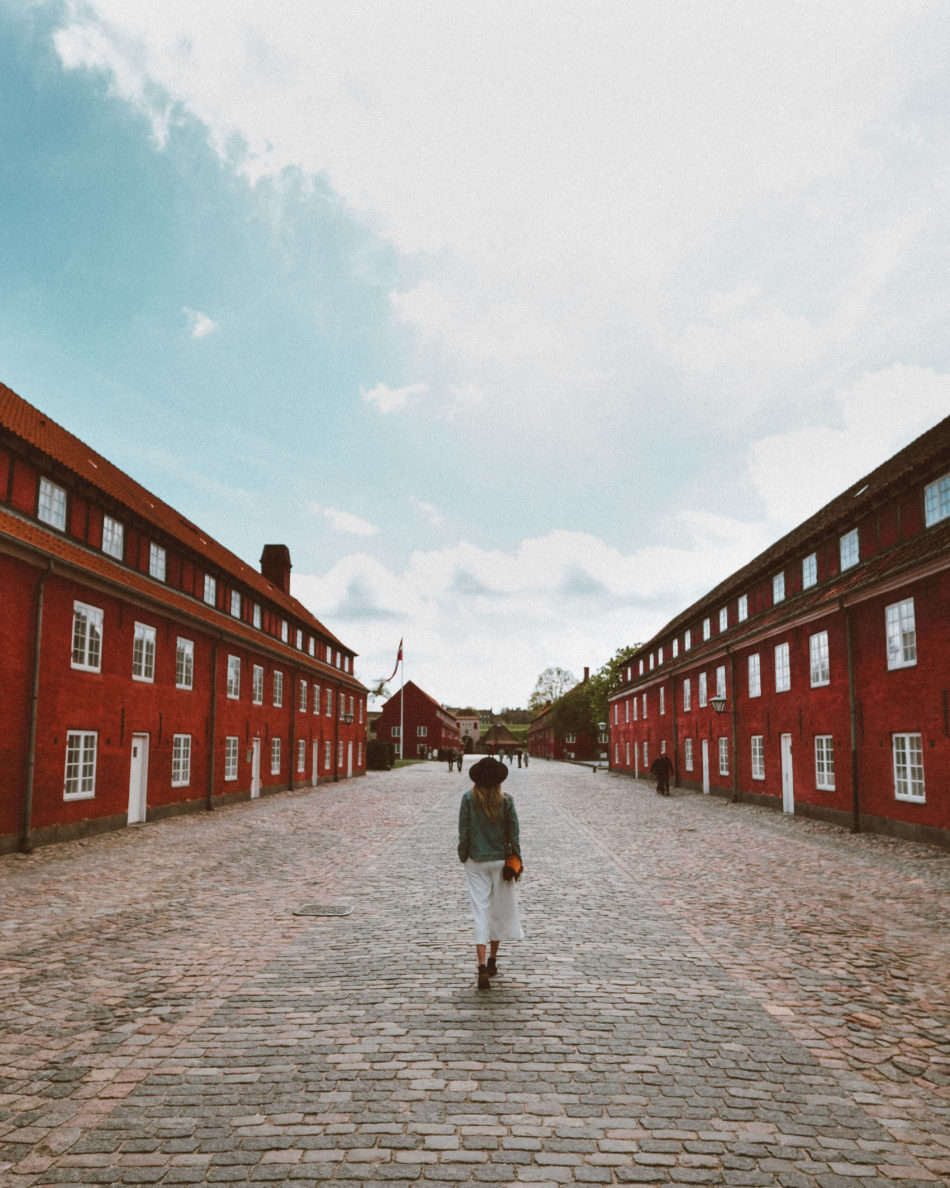
Utilize Leading Lines
Leading lines draw the viewers eyes to the important part/subject of the image. Railroad tracks, bridges, roads, forks strategically placed towards the main course. All of these are examples of leading lines.
As anything, rules are meant to be broken. Don’t let this deter you from capturing some magical photos that don’t necessarily fall under these guidelines.
Level up your photos with props
Maps, flowers, wine, ice cream, soda’s, a paper fan. Adding props to your image can tell more of a story, and it also makes you more comfortable in front of the camera. I don’t know about you, but I NEVER know what to do with my hands in photos. Enter, a nice glass of vino.
Plan your outfits, hair, hats
If you are going to be walking around all day taking a ton of pictures, why not throw an extra scarf or hat in your bag to switch up the images of you in various places that day? When you are doing your research on Instagram and Pinterest, keep those locations in mind if you know you are going to shoot portraits there and figure out what outfits would look best. It’s better to wear simple solid colors if you are going to a graffiti wall, or maybe a red dress if you’ll be somewhere muted to add contrast. This might not be for everyone, but as a content creator, these are things I think about when capturing the mood of a place!
Which leads me to.. Complimentary colors
The human eye loves complimentary colors. If you know you are going to a distinct bright blue castle, consider a pop of orange in your outfit, blue’s complimentary color. Google the color wheel to get an idea of the rest of the complementary colors or just google “blue complimentary color” etc.
Random Photography Tips & Tricks
Be patient
Take a second before you shoot – look around, remove anything unwanted and decide how the image is going to tell a story. How are you going to convey how the area looks in person? Smells? Sounds? How does it feel to be there in that moment, and how can you relay that into a photograph? Photography is art, not just a quick snap to throw on the ‘gram. When you look at it that way, you’ll take your time. I like to pretend I’m shooting film with only a limited number of shots. Make them count!
Don’t be afraid to move around
Squat down, go on your tiptoes, lift your camera up high, stand on things, change up the perspective of your shots. You never know what you might create.
Keep in candid
I know, the “fake” laughter shots are all the rage, but if you can make your subject laugh, smile, or capture someone in the moment while traveling, it tells more of a story than the “say cheese” awkward family photos in front of the “It’s a small world after all” ride at Disneyland.
If you are traveling with someone, make a pact to snap photos of one another throughout the day when they aren’t looking. Become storytellers capturing a day in Prague, or an evening in Vienna.
Add depth to your photos by using something in the foreground
Ever take a gorgeous picture of a mountain and it just doesn’t look as grand in the photo? That’s probably because the photo is 2 dimensional. Add an element like rocks in the pond in front of you, or tree branches to show the grandiose scale of the scene.
Notice the details
While traveling, look at doors, windows, ceilings, floors, there is beauty everywhere. Keep your head on a swivel, constantly looking at different angles. There is so much to see when we change our perspective. You’ll see patterns, shapes, colors, symmetry, texture, and stunning architecture to capture.
Frame your images
Taking a picture of a bridge? Take a few steps back and see if you can “frame” the bridge with another piece of architecture, trees or another bridge. Take pictures through fences, people, alleyways. You can add a lot of dimension to a photo by framing the subject in an interesting way.
Ask locals for secret spots
Sitting at the bar having a cocktail? Ask the bartender if he knows any good places to take photos, any secret viewpoints or hidden gems.
Take your time to focus
Take your time to focus on the subject. To get those really clear crisp shots, the photographer needs to be as STILL as possible. You know who has amazingly steady hands? My tripod buddy, tripod Bob. He’s the best. As I mentioned earlier, invest in a lightweight tripod for extra precision. If you’re getting someone to take your photo. remind them to focus on you first before snapping the shot. Digital and SLR cameras all have focus indicators. On my Fujifilm, it is a green square. I just make sure that the person taking my photo holds the shutter button down half way to focus and to make sure I am in the middle of the green square and voila! I am in focus. Take the time to explain this to whoever is taking your photo if traveling solo!
Editing and Post-Processing
The reason I told you to shoot in RAW is so that you can edit your photos in the beast that is Lightroom. This Adobe photo editor is a game changer. There isn’t much you can’t do with this editing software. You can edit JPEG images with it too, but RAW images give you so much room for error. Shooting with deep shadows? Want to fix the white balance? Enhance the blue in the sky? Lightroom can do it all. You can change the setting on your camera to shoot in RAW and JPEG, or just RAW if you’re going to edit them (usually under the “Image Quality” tab on your camera menu). There is so much to be said on how to edit, but Youtube and Skillshare both offer incredible tutorials. I love Peter McKinnon, PHLearn and Photos in Color on Youtube.
You can buy Lightroom Presets as well, which are advanced photo filters. If you have a favorite photographer, see if they sell presets! This is a popular trend these days and chances are someone you admire has their editing presets for sale.
Lightroom Mobile
There are also Lightroom mobile presets now, so you can edit directly from your phone!
Here is a list of my favourite editing apps if you aren’t quite ready to use Lightroom yet:
VSCO
Great filters and paid packages. Go on Pinterest and search VSCO filters for examples to help you choose which ones to buy!
Snapseed
Great to do last minute edits on an image like cropping, removing objects, playing with exposure, leveling the lines of the image.
LD (Lens Distortions)
You can add subtle effects like light leaks, clouds, or fog to add a little extra something to your photos. I wouldn’t recommend going too crazy with this, but it can enhance a photo that already has a hint of sunlight peeking through etc.
Instagram also has editing features you can use before posting a photo. I will up the brightness, contrast and Lux just a smidge to enhance it. Sometimes photos can lose a bit of their wow factor when you transfer them to your phone to post on social. This brings that back a little.
10 Tips for Posing in Photos//
Posing for pictures can be SUPER awkward for many of us. What do I do with my hands?! Is that what I REALLY look like in real life?! Here are some tricks to minimize weird angles:
1) Whatever is closest to the camera will appear longer and larger. Tilting one leg in front of the other can make it appear longer. Bring your hands back closer to your body so it doesn’t look like you have gigantic hands that take over the photo.
2) “Small” hands – Be mindful of your hands in photos when holding something. Bringing your fingers closer together and less “claw” like can help make them less overpowering in a photo.
3) Shoulders back, core tight. Good posture is essential in photos! A lot of people tend to get nervous and want to hunch over. It feels safer. Be confident, proud, and drop those shoulder blades.
4) 45-degree angles look good on everyone, so when in doubt, face 45 degrees in either direction
6) Move limbs away from your body. This adds space and dimension into the photo and you’ll be less squished.
7) Move your chin forward like a bird and down. This just lifts your face slightly away from your shoulders and neck.
8) RELAX! Make it fun. Tell your photog to tell you a joke. Real laughter captured in photos is the best.
9) Try different poses, sitting, standing, looking at the sky, down to the ground. Get a few shots in each pose and see what you like. Tell the photographer to get different angles too (up high, crouched down low, moving the camera to their belly button).
10) Study your photos. Look on your Instagram feed and see what photos of yourself you have liked and posted. Make note of the angles and facial expressions. Try to find 5 common poses you love and just rotate through those! Then experiment from there. I find my favorite photos are the ones when I felt the most comfortable in the position I was in.
I hope this guide was helpful and gave you some tips for crafting beautiful images on your travels. Feel free to message me with any questions or advice! Happy snappin’
Xx,
Kaylee


What a great trip.